Sunday 29 March 2015

SHOWCASE

 This posting is to showcase one of our group members.
Anthea's beautiful pendants demonstrate just how incredible jewel enamels can be.


 The colours she chooses and the way she mixes and pours give such stunning results.


She also searches for unusual bezels to set off her designs.


You need a simple shape which is deep enough and large enough to allow you to let the molten enamel swirl to show off your colour mixing.


You can find more of Anthea's creations here:
https://www.facebook.com/anthea.searle.7

and you can find our Facebook group here:

https://www.facebook.com/groups/JewelEnamelGems/


Sunday 25 January 2015

A Fun Way to Use a Flexible Mould

One of the great things about jewel enamel is that because it is lightweight you can make fully loaded charm bracelets that don't weigh down the wrist but look amazing.

I love using moulds to pour into and have collected quite a number. This is one of my fun ones - a great mould for lips - I was intending them for hair clips using polymer clay or UTEE jewel enamel but  when I found some gold cherry charms I realised that cherries and lips would be great fun as charms made from UTEE jewel enamel so it was time to get out the melt pot.
They remind me of those cherry lip sweets so I got out the red!

I needed to make a really bright red so used just a couple of drops of red melt ink in clear UTEE and for fun added bright red glitter


the lips mould is very flexible and makes four at once which speeds up the process
I also added glitter into the mould before pouring so I would have surface glitter and embedded glitter


I embedded short gold coloured ball headpins to roll down


when I carefully heat polished the lips the glitter became even more BLING making the lips look quite juicy

I hand made a two by two chain for the bracelet and added the charms


I decided that it needed a contrast colour so found some flat black onyx faceted discs

I had three lips left and did think about earrings but finally decided on a long chain with a fully loaded dangle on the end

the necklace

the finished bracelet with cherry charms, red jewel enamel lips and black onyx beads


Saturday 17 January 2015

IDEAS FOR USING UP SCRAP

I always end up with quite a large pot of scrap enamel in a gunge colour and have been wondering how to use it up.
 I also have a new cabochon mould with a variety of different sized cabochons so I thought I would try out the mould and see if I could use up the scrap.
First of all I wanted to try out a new texture sheet so I poured the mix into a leaf shaped cutter laid onto the sheet. I rubbed Versamark onto the cutter as a release agent which works very well.

the scrap mix poured into a cutter on a texture sheet with added gleams and mica powder to highlight the texture
I have used stellar flash in the past but not really been impressed with the results however this time I decided to sprinkle to flash into the mould before pouring a dark colour over the top.
My scrap gunge colours ranged from a murky grey through to a red tinged brown with some dark steel thrown in too.  By adding some scrap to a larger amount of diamond clear and a small amount of navy blue heat ink I was able to produce a colour mix that was more translucent than the scrap with an even dark colour which showed up the stellar flash well.
I created a few cabochons including a dinky pair of earrings with a definite opal look about them.


I really like these earrings which are about 8mm

I have also been playing with  a Karantha three hemisphere mould which has slits for headpins or wire and produces a pendant. This is one of my favourite moulds because it is so versatile. You can use it to make a graduated pendant or use one of the hemispheres on its own. Louise Jakobsen has even fused two hemispheres of the same size together to make a complete ball.


Here are three different pours using this mould - I have used the scrap and stellar flash mix  plus a faux lapis look with gold sprinkled on and then heat polished carefully and one of the Crafty Notions black metallics with added bronze. I quite like the effects produced


I used up the last of the scrap mix with a lovely tear drop shaped mould. I experimented by really heating up to front to see if I could make the stellar flash change colour ( it is small bits of fusible film which morph into stunning colours with a blast of heat ) You can see how the jewel enamel  has melted away from the flash and made quite a pitted surface which is not what I normally go for but I like this rougher rainbow effect.


Monday 12 January 2015

Using Mica Powders with Jewel Enamel

In the Jewel Enamel Gems facebook group we are often asked whether you can use mica powder with jewel enamel UTEE and the answer is a resounding YES!

There are lots of ways to use these shimmery powders so I thought I would give a few examples and ideas here.

First and most obviously is to highlight any texture that you have poured. You can use wax gleams but sometimes you want a more subtle result so mica powders are perfect. You can always add a glaze over the top to keep the colour. I use Scupley glaze in either a satin or gloss finish.


the Karantha textured butterfly mould comes to life when you gently rub mica powder over the texture

I added gold and turquoise mica to this leaf shape which had been poured into a cutter laid on a texture mat


Another way is to brush mica powder into a mould before pouring. I use an old make up brush for this making sure I get into all the nooks and crannies in the mould. This technique is great if you are using a colour that is a bit dull because it gives a shimmer to your piece. With this strawberry pendant I wanted to add a subtle gold sheen so brushed into the mold and then when the piece was cold I gently polished it


I really like to add mica powder to the actual mix as I am melting. You need to add gradually and mix well but be aware that too much can really change the consistency and you often get bubbles. I mix well and then use a heat gun directly onto the melt pot to get rid of as many bubbles as possible.
You get an opaque frosty result which works equally well in clear or a colour
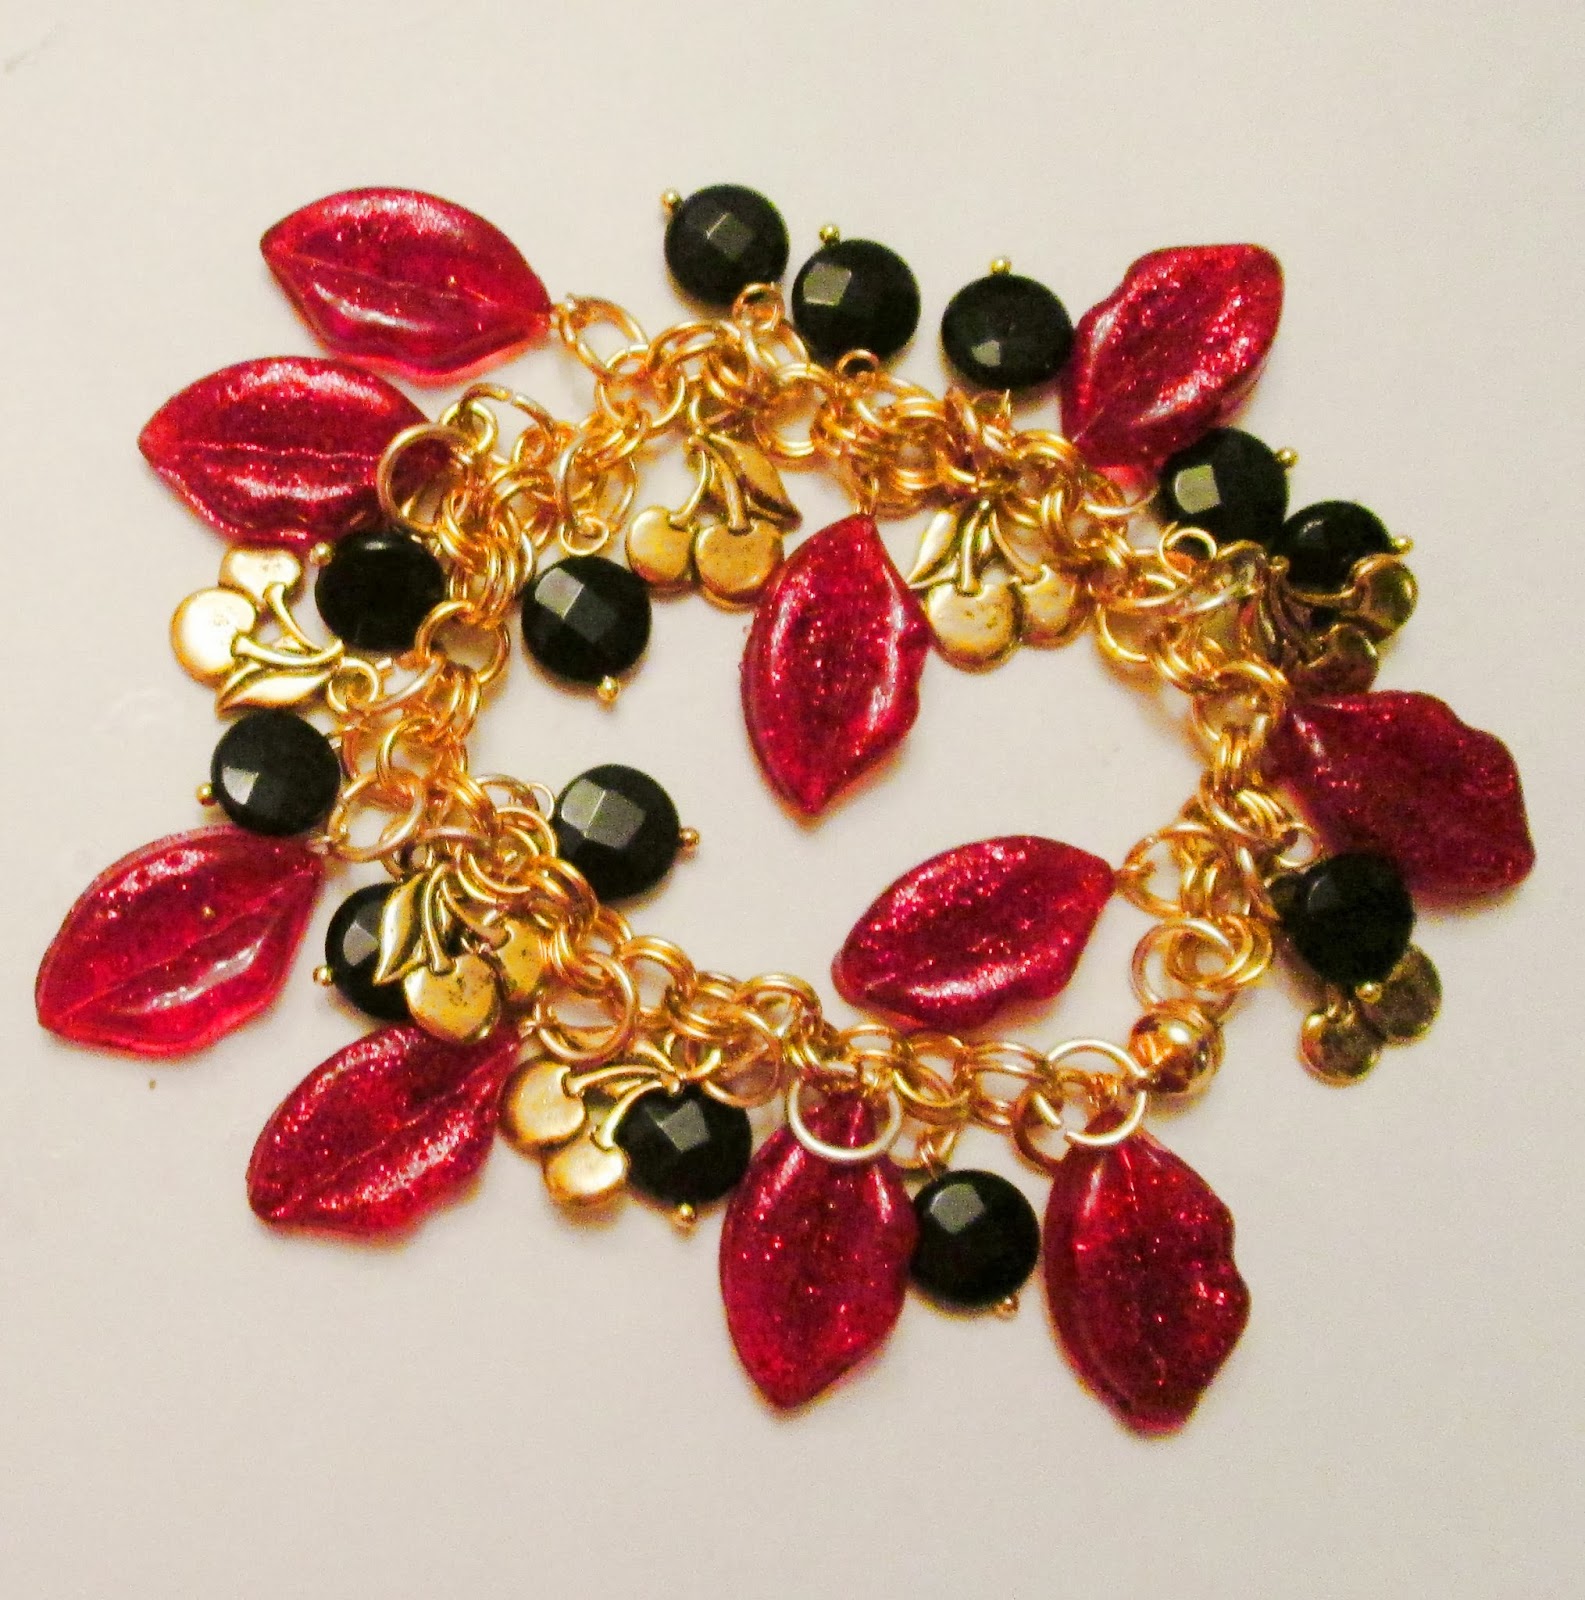
This bracelet was made using a deep teal blue with clear and I slowly added silver mica and poured then a bit more and another pour and so in until I got an almost totally silver.
The heart mould is the small Karantha plain heart. I only have one mould so you can see this took time to create. In order for the mix not to go amber tinged I turned the melt pot right down between each pour.


A couple of hearts in I poured a pendant to complement the bracelet


you can really see the effect of the mica powder in this

  These stars were made starting with turquoise and clear and a small amount of silver mica then adding a little more mica each time and then beginning to add a tiny bit of white

so why not give mica powders a try

Sunday 11 January 2015

Photo Tutorial for a Bumble Bee themed charm bracelet

I bought some lovely little bee charms and decided to make a simple charm bracelet with bumble bee coloured beads.
I mixed a golden colour using citrine, bright orange and clear. I also added some Flex to give extra strength and reduce brittleness.


I also used a jet black but added some clear and flex to give more depth to the bead.    When I am using black I use a project pan because cleaning out the melt pot is quite hard with black - even the slightest speck can change the colour of the next pour. So this way I keep the black separate.

any left over I let cool and keep in the pan


The method I use for these hand made beads is often called the Leandra bead - it is created by repeated dipping of a headpin to create a ball.  You can actually make lovely contrasting or matching headpins for a project by just dipping once.


You need the mix to be slightly thicker than normal so once the enamel is melted I turn the heat down just a little bit. I also use the lid to tilt the melt pot slightly so that I have a deeper pool to dip into.


I tend to dip all the headpins once and then go back to the beginning by which time they have cooled enough.


It is important to keep the pin moving after you've dipped to get a good round shape. A gentle turn works well - too fast and it all flies off the pin, too slow and it makes an odd shaped blob.
It only takes a few seconds for the enamel to become hard enough not to move.
This one ended up a strange shape because I didn't turn evenly

I used the charms as a guide for how big I wanted the beads.

It is quite hard to make them all the same size and of course they don't always end up round but that is part of the uniqueness of the bead.


I was after a bumble bee colour theme

Once the beads are finished you can heat polish them if they need it - this also can be used to even up any odd shapes but you will need to develop a swirling technique to do this otherwise the enamel will just melt and blob off.


I also used simple ball studs with the loop cut off and dipped them into the mix to make matching stud earrings

Once they were all finished I cut off the excess headpin and made rolled loops. Then I added the beads and charms to a simple chain with a clasp.


Friday 2 January 2015

happy new year

Wishing all our blog readers a Happy New Year and may it be full of creative moments!

Sunday 21 December 2014

Christmas decorations

Last year I made decorations for family and friends so decided to make some more as presents this year.
I used a large star mould that I bought from Jewellery Maker TV which is just thick enough for a good pour but not so thick that it takes ages to cool and harden
I wanted to make transparent colours so used clear UTEE and heat inks to add the colour and very lightweight glitter for added bling.

For this glorious green I used clear UTEE with some Cosmic Shimmer ink  I poured a few stars in green and then began to add a second green ink which is much more of a teal and created a colour gradation through to almost turquoise
 these stars have a rich gem like quality and look amazing with light shining through
Then I melted some left over transparent ruby  to make just a few glowing red stars


I used a deep blue heat ink with a mixed blue glitter for my blue stars and then a tiny drop of ink called tiger's eye which is a golden colour with plenty of gold glitter.
Once totally cold I used a soldering iron to melt a good sized hole for ribbon to string them up.
Finally I gathered all my efforts together for a curtain call
A rainbow of stars for Christmas